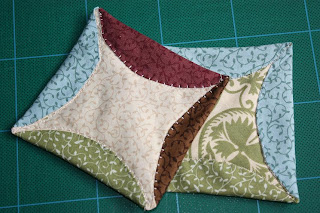
For this coaster you’ll need 3 templates
- One 4 inch square, this will be your finished size.
- One circle 5 ¾ inch in diameter, or a circle slightly bigger than your small square.
- One 4 inch square, this will be your finished size.
- One circle 5 ¾ inch in diameter, or a circle slightly bigger than your small square.
- One 6 ½ inch square, or a square big enough to fit your circle, this is the template you need for cutting your fabric.
If you’ll be using this template numerous times I recommend you cut it out in template plastic.
You’ll need two pieces of fabric, one for the front and one for the back both 7 inch square, and a piece of batting 7 inch square. I’ll recommend that there is some contrast between the fabrics. In this way the pattern will be more visible.
the backing fabric will be the rounded edges on the front of the coaster.
Make a sandwich with front and back fabric right sides together. Place this on top of the batting.
Trace the circle onto the fabric.
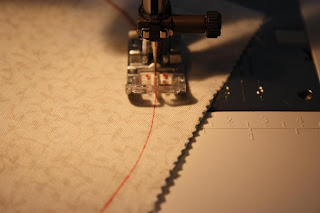
Stitch around the marked circle leaving and opening for turning.
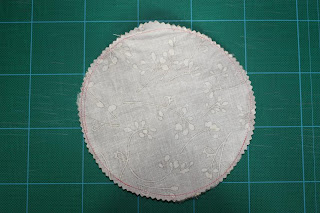
Trim as close to the seam line as possible, I use pinking shears.
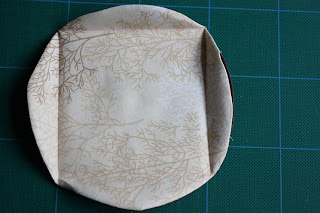
Turn and press the circle, remembering to press the openings raw edges inside.
Don't use the plastic template for this, only use cardboard or paper templates when pressing.


Ingen kommentarer:
Send en kommentar